
Scenic overlook travel spots are where you go when you want the “how is this real?” view, but they can also be where your photos end up looking flat, crowded, or washed out. The good news is most overlook disappointments come from predictable issues: timing, light direction, and where you stand.
This guide is built for real trip planning, not fantasy itineraries. You’ll get a practical way to choose overlooks, a simple packing checklist, and camera and phone tips that work even if you’re not trying to be a landscape pro.
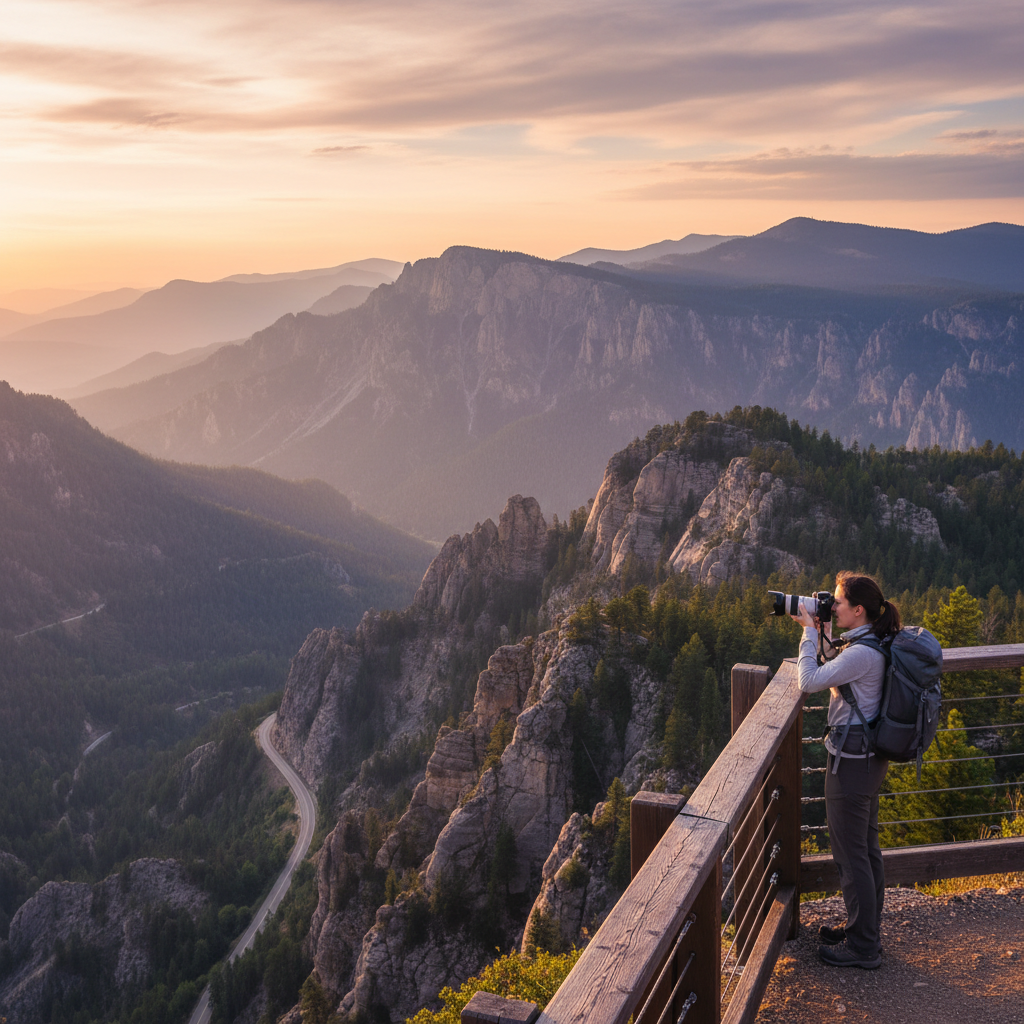
I’ll also call out the stuff people rarely mention, like wind at exposed viewpoints, midday haze, and why “the main platform” is often the worst place to shoot from. If you want photos that match what your eyes saw, this is the path.
What makes an overlook “photo-worthy” (and what usually ruins it)
Not every viewpoint is built for photos, even if it’s famous. A photo-friendly overlook usually has a clean sightline, a bit of foreground interest, and enough space to move without being shoulder-to-shoulder.
- Light direction: Front-lit scenes often look flat, side light creates texture on cliffs and ridges.
- Foreground: A railing, rock, tree, or curve in the road can add depth if it’s not visually messy.
- Elevation and layers: Distant layers of hills or buildings read better than a single empty horizon.
- Room to change angles: Ten steps left or right can fix glare, remove distractions, or align the horizon.
What tends to ruin the shot is surprisingly consistent: harsh midday sun, atmospheric haze, dirty viewpoint glass, and crowds forcing you into a single angle. Also, wind. Wind turns hair, jackets, and tripods into chaos fast.
Quick self-check: which overlook situation are you planning for?
Before you pick a destination, be honest about the kind of stop you want. Different scenic overlook travel spots work for different goals, and your “perfect” view might be someone else’s headache.
- Fast roadside stop: 10–20 minutes, minimal walking, likely crowded, easiest for phone photos.
- Short hike viewpoint: More control over angles and fewer people, but you’ll trade time and effort.
- Sunrise/sunset mission: Best light, fewer crowds, but requires planning and safety awareness.
- Iconic landmark overlook: Predictable composition, great for first-timers, often hard to avoid distractions.
If you’re traveling with kids, older family, or tight schedules, prioritize overlooks with parking, bathrooms, and clear barriers. If you’re traveling for content, prioritize space and light, even if the viewpoint is less “famous.”
How to choose scenic overlook travel spots (without over-planning)
You don’t need a spreadsheet to find great viewpoints, but you do need a filter. Here’s a realistic way to narrow options in 10 minutes.
Use these three criteria
- Orientation: East-facing for sunrise, west-facing for sunset, north/south for longer “even light.”
- Access vs. payoff: If a viewpoint is 30 seconds from a parking lot, assume more people and fewer clean angles.
- Seasonal conditions: Snowbanks, wildfire smoke, summer haze, and road closures can change everything.
According to National Park Service, weather and terrain can change quickly in many parks, so checking official alerts before heading out is a smart baseline for safety and access planning.
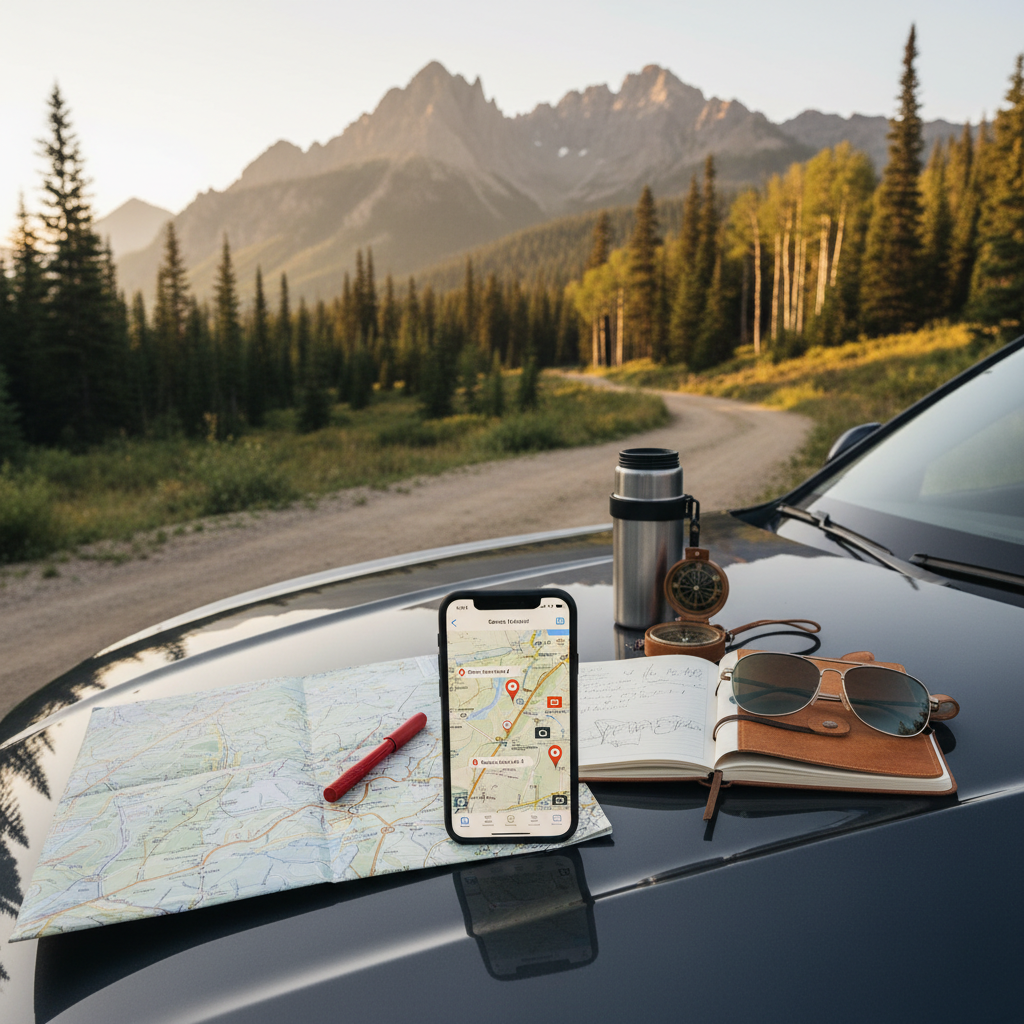
A simple “hit list” method
- Pick one iconic overlook (the must-have).
- Pick one backup nearby (in case of crowds, haze, or closures).
- Pick one low-effort stop for the drive (so you still get a win on busy days).
This keeps your day flexible, which matters because light and visibility rarely cooperate on demand.
Best times and conditions for overlook photos (what to aim for)
Light is the main difference between a postcard-looking photo and an “I guess we were there” photo. If you can control only one variable, control timing.
- Golden hour (after sunrise, before sunset): warm color, softer shadows, more depth.
- Blue hour (just before sunrise/after sunset): great for city overlooks and silhouettes.
- Overcast days: underrated for forests, waterfalls, and canyon interiors because contrast stays manageable.
- Clear midday: often the hardest; use it for wide “record shots,” then save your hero photos for later.
Watch for haze and smoke in summer. Even if the viewpoint is stunning, distant detail can disappear, and your phone will try to over-sharpen the mess. If conditions look milky, shift to tighter compositions, closer ridgelines, or foreground-first framing.
On-the-spot shooting playbook (phone and camera)
This is the part that saves most people. When you arrive at a scenic overlook, don’t start shooting immediately. Give yourself two minutes to scan, then choose a plan.
Start with these three frames
- Wide establishing shot: show the full scene, keep the horizon level.
- Mid-range “layer” shot: zoom slightly to stack ridges/buildings, reduce empty sky.
- Foreground anchor: include a rock, plant, fence line, or person for scale.
Phone tips that actually matter
- Tap and hold to lock exposure, then slide brightness down a touch to protect highlights.
- Use the 2x/3x lens for cleaner landscapes, ultra-wide can distort edges and railings.
- Turn on gridlines, align the horizon, then recompose.
Camera basics (if you carry one)
- Landscape depth often looks best around f/8 to f/11, but wind can force higher shutter speeds.
- If you have a polarizer, rotate slowly and watch the sky and haze change, it can help but can also make wide skies uneven.
- Bracket exposures when the sky is much brighter than the land, it gives you options later.
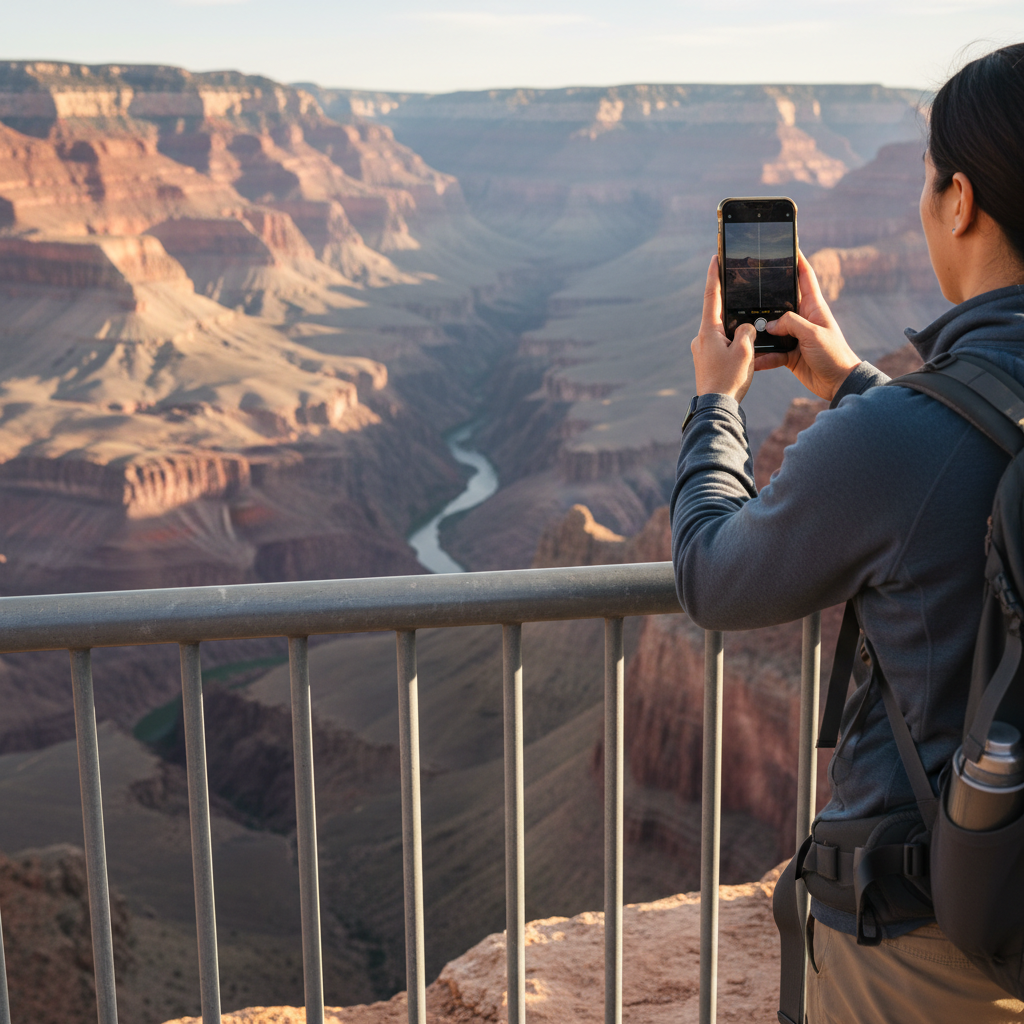
Key takeaway: if the view feels overwhelming, simplify. Less sky, more layers, one clear subject.
Practical planning: what to bring, what to skip
Overlooks feel easy until they’re windy, cold, and crowded. A small kit prevents bad trade-offs like skipping the shot or taking risks near edges.
Small kit, high payoff
- Lens cloth (or microfiber): fixes 80% of “why is my photo hazy?” issues on phones.
- Water and a layer: exposed viewpoints get chilly even on warm days.
- Mini tripod or clamp: helpful for blue hour and group shots, but only where allowed.
- Offline map: many scenic overlook travel spots have weak signal.
What to skip (most of the time)
- Too much gear “just in case,” it slows you down and makes quick stops stressful.
- Flash, it won’t help on a landscape and can annoy others at the viewpoint.
Safety, etiquette, and common mistakes
Most overlook problems aren’t technical, they’re behavioral. You’re sharing a small platform with people who also came for a moment.
- Stay behind barriers: if a viewpoint has a fence, it exists for a reason. Don’t climb for angles.
- Mind wind and drop-offs: tripods tip, phones slip, and gusts can knock balance off. If conditions feel sketchy, step back.
- Don’t block the prime spot: take your shot, then rotate out, especially at sunset.
- Avoid drone assumptions: rules vary widely. According to Federal Aviation Administration, drone operations must follow FAA regulations, and many parks or local areas add extra restrictions.
A common mistake is chasing the same frame everyone posts. The “icon” shot is fine, but your best photo is often 20 feet away where the railing isn’t cutting across the view and the crowd noise fades.
A quick comparison table: pick the right overlook style for your trip
If you’re deciding between a few stops, this kind of quick comparison helps more than reading another list of “top 10 views.”
| Overlook type | Best for | Typical challenge | Simple fix |
|---|---|---|---|
| Roadside pullout | Fast photos, family trips | Crowds, limited angles | Use 2x/3x lens, shoot tighter |
| Short hike viewpoint | Cleaner compositions | Time, elevation gain | Go early, pack light |
| Sunrise/sunset overlook | Best light, dramatic color | Low light, cold, logistics | Arrive 30–45 min early, bring a layer |
| City skyline overlook | Blue hour, night lights | Glass glare, reflections | Press lens to glass, dim screen |
Conclusion: get the view, then earn the photo
Scenic overlook travel spots reward small decisions more than expensive gear, show up when light is kind, take two minutes to move your feet, and build your shot around one clear subject. If you do that, your photos usually look more like what it felt like standing there.
If you want a simple next step, pick one overlook for golden hour on your next trip and plan one backup nearby. That one change removes most frustration, and you’ll notice it immediately in your camera roll.
FAQ
How do I find scenic overlook travel spots near where I’m staying?
Search for viewpoints in your map app, then cross-check with official park or city pages for access notes. I also like scanning recent photos to see crowd levels and whether the view is seasonal.
What’s the best time of day for overlook photos if I can’t do sunrise or sunset?
Late afternoon often beats noon, even if it’s not true golden hour yet. If you’re stuck with midday, look for overlooks with textured foregrounds or partial shade and shoot tighter.
Why do my overlook photos look hazy even when it seems clear?
It can be atmospheric haze, smoke, or just a smudged lens. Clean your lens first, then reduce how much distant sky you include, and consider using 2x/3x instead of ultra-wide.
Should I use HDR on my phone at viewpoints?
Usually yes, especially when the sky is bright and the land is dark. If HDR makes things look unnatural, turn it off and underexpose slightly to keep highlights from blowing out.
How can I take better photos at crowded overlooks?
Arrive earlier, or wait for the crowd “cycle” to clear for a few seconds. Composition-wise, zoom in to remove people, or put one person in frame intentionally for scale instead of fighting it.
Are tripods allowed at scenic overlooks?
It depends on the location and how busy the viewpoint is. Some places restrict them for safety and traffic flow, so it’s worth checking site rules and using a small tripod only when it won’t block others.
What safety tips matter most at exposed viewpoints?
Stay behind barriers, keep phones secured, and take wind seriously. If you’re unsure about trail or weather risk, it’s reasonable to turn around or ask a ranger or local staff for guidance.
If you’re planning a route and want a more “low effort, high photo yield” day, build your itinerary around two overlooks with different orientations, then leave room to swap based on weather and crowds, it’s the simplest way to come home with images you actually like.