
how to take good travel photos with phone comes down to a few repeatable habits: control light, simplify composition, and use your phone camera on purpose instead of hoping for luck.
If you have a camera roll full of “almost” photos, you’re not alone, travel moves fast, light changes fast, and phones love to over-brighten skies and smear detail in low light. The good news is you don’t need extra gear to get a big jump in quality.
This guide focuses on what actually works on trips: quick settings you can remember, a simple shot list, and editing steps that keep photos looking natural, not overcooked. I’ll also point out the common traps, because most people don’t fail on talent, they fail on timing and small technical choices.
Get your phone ready before you walk out the door
Most “bad travel photos” start before you even open the camera app, dirty lens, low storage, and notifications popping up at the wrong second create chaos. Two minutes of prep buys you a lot of consistency.
- Clean the lens with a soft cloth, a tiny smear can cause hazy highlights and “mystery blur.”
- Turn on grid lines (rule-of-thirds overlay) so framing becomes faster.
- Set camera quality to the highest option available, and enable RAW/Pro mode if you already know you’ll edit.
- Free storage, phones slow down and sometimes reduce capture reliability when space runs tight.
- Choose your default lens (1x/2x) instead of bouncing between lenses constantly.
According to Apple Support, keeping the iPhone camera lens clean and using camera features like grid can improve photo results and framing consistency. Android phones have similar options under camera settings, even if menus vary.
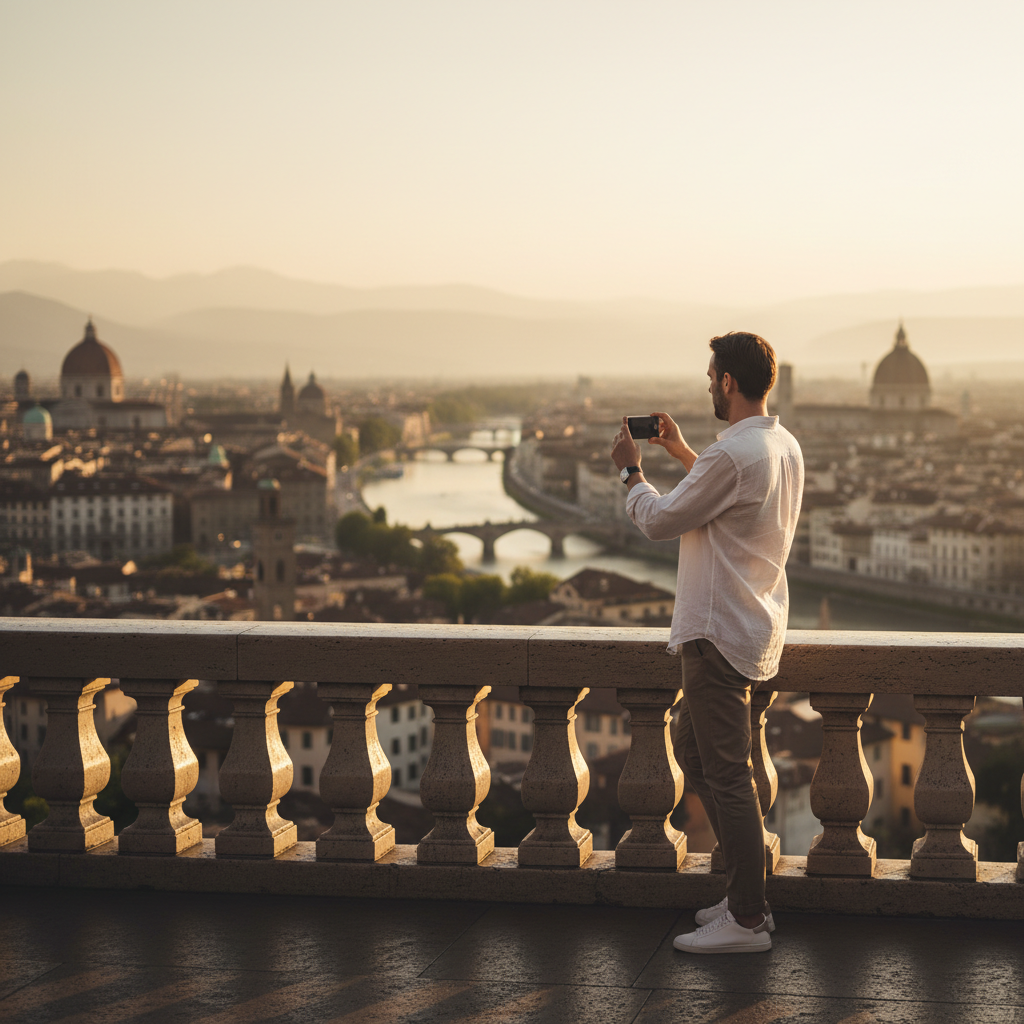
Light first: how to work with harsh sun, shade, and night
If you’re trying to learn how to take good travel photos with phone, treat light as the main subject, not an afterthought. Phones do a decent job in balanced light, but they struggle when the scene has both bright sky and dark shadows.
Golden hour: easiest “win” on any trip
Shoot early morning or late afternoon when light turns softer, faces look better, buildings show texture, and skies keep color without heavy editing. If you can only plan one thing, plan this.
Midday sun: work around it, don’t fight it
- Step into open shade (near a wall, under an awning) for portraits, it reduces squinting and harsh shadows.
- Tap to focus on the subject, then lower exposure slightly so highlights don’t blow out.
- Use backlight carefully: put the sun behind your subject and expose for the face, then accept a brighter background, or vice versa.
Night and indoor: stability beats “more brightness”
Night mode helps, but it’s not magic, it needs stillness. Brace your arms, lean on a wall, or rest the phone on a railing. If people are moving, try a brighter area, because long exposures turn motion into mush.
Composition that travels well (even when it’s crowded)
Great travel photos usually feel intentional, even when the scene is busy. Composition is how you decide what the photo is “about,” and phones benefit from cleaner framing more than big cameras do.
- Pick one anchor: a person, a doorway, a mountain ridge, a plate of food. If you can’t name it, the photo may feel messy.
- Use the grid: place the horizon level, then put the subject on a third line for quick balance.
- Edges check: scan the borders before shooting, stray poles, signs, and elbows ruin more images than bad focus.
- Foreground helps: add a nearby element (rail, flowers, texture) to create depth.
- Change height: knee-level for streets, higher angle for markets, eye-level for people, it keeps photos from looking the same.
Crowds are part of travel, so instead of waiting for an empty frame that never happens, you can either shoot tighter, use a person as the story, or lean into motion with a “busy place” vibe.
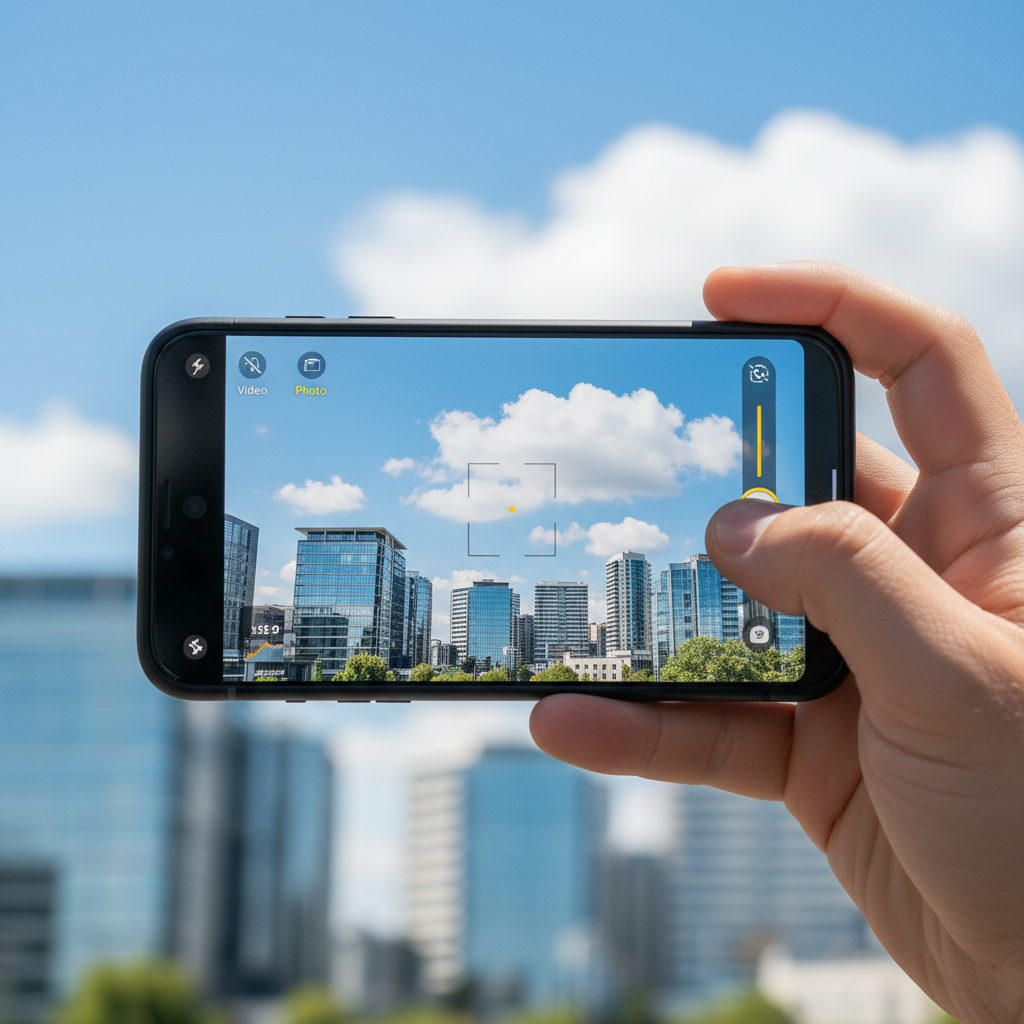
Quick camera controls that make a big difference
Auto mode is fine, but a few manual nudges separate snapshots from keepers. If you only remember three moves, remember focus, exposure, and lens choice.
- Tap to focus on the subject, then hold to lock (on many phones) when light keeps changing.
- Drag exposure down a touch when the sky looks washed out, it’s easier to lift shadows later than recover blown highlights.
- Avoid digital zoom; step closer or switch to a real tele lens if your phone has it.
- Use portrait mode cautiously, it can look great, but hair edges and glasses can glitch, always review at 100%.
- Try burst/continuous for action moments like waves, jumping, or street scenes.
According to Google Pixel Help, features like exposure controls and motion/burst options are designed to help handle challenging lighting and fast-moving scenes, the exact name changes by model, but the concept stays consistent.
A simple shot list: what to capture so your trip tells a story
Many people think they need “better photography,” but what they really need is coverage. When you shoot a mix of wide, medium, and detail photos, your gallery starts to feel like a story instead of random highlights.
- One establishing wide: the skyline, the trailhead, the hotel view, set the scene.
- One human moment: not always a posed portrait, even hands holding coffee counts.
- One detail: menu typography, tile texture, street sign, souvenir, close-up food.
- One “movement” frame: walking, biking, a ferry, something that feels alive.
- One night photo: neon, sunset afterglow, a lit street, it adds variety.
When you’re practicing how to take good travel photos with phone, this shot list keeps you from overshooting the same view 40 times while missing the small moments that make the trip yours.
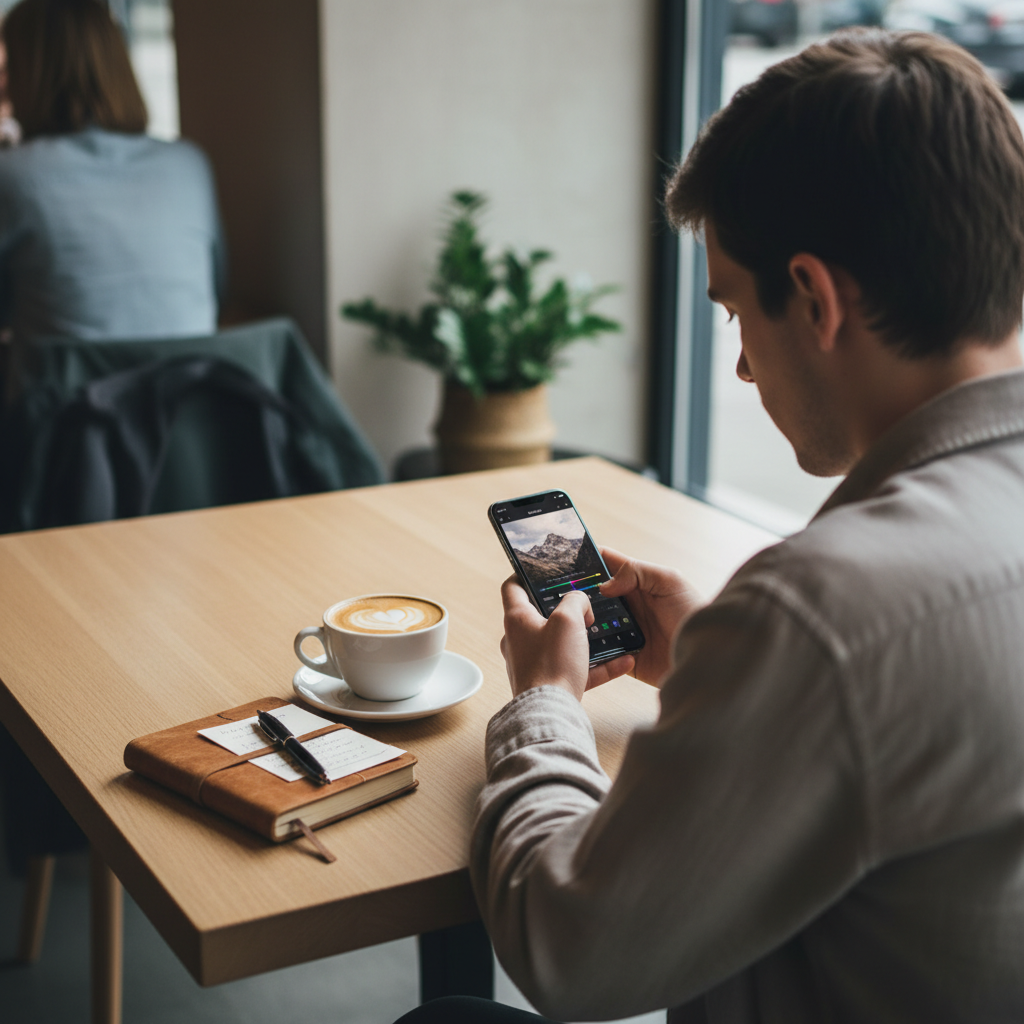
Edit fast, keep it real: a travel-friendly workflow
Editing is where phone photos go from “pretty good” to “worth printing,” but heavy filters can make travel scenes look fake. A light touch usually wins, especially for skin tones and skies.
My practical order of operations
- Crop and straighten, fix the horizon first, it changes everything.
- Exposure: bring overall brightness to a natural level.
- Highlights down, shadows up, gently, avoid the gray HDR look.
- White balance: warm up cold interiors, cool down overly orange sunsets if needed.
- Selective sharpening if your app allows, too much sharpening makes texture crunchy.
According to Adobe, subtle adjustments to exposure, contrast, highlights, and color often produce more natural-looking edits than relying on one-tap filters, especially when you want consistency across a set of travel images.
A quick “what to edit” table
| Problem you see | Likely cause | Fix that usually works |
|---|---|---|
| Sky is pure white | Overexposure / bright highlights | Lower exposure, pull highlights down, next time underexpose slightly |
| Face is too dark | Backlight or strong contrast | Lift shadows, use portrait lighting carefully, move into open shade |
| Night photo looks blurry | Long shutter / hand shake | Brace phone, use a stable surface, shorten exposure if possible |
| Colors look neon or weird | Over-saturation / auto HDR | Reduce saturation/vibrance a bit, correct white balance |
| Subject feels lost | Busy frame / weak focal point | Crop tighter, simplify background, change angle |
Mistakes that keep your phone travel photos looking “off”
These are the patterns that show up again and again, and fixing them usually improves your photos more than buying an accessory.
- Shooting everything at 1x from standing height, it makes every place look similar.
- Trusting auto exposure blindly, phones often brighten shadows and destroy mood.
- Overusing ultra-wide, it can warp people and buildings near the edges.
- Too much smoothing from beauty modes or aggressive noise reduction, details vanish.
- Editing each photo differently, your trip starts to look inconsistent, aim for a repeatable look.
When gear or pro help actually makes sense
For most travelers, learning how to take good travel photos with phone is enough, but there are moments when extra support helps. If you plan a surprise proposal, a family reunion trip, or you need images for a brand partnership, hiring a local photographer can reduce stress and give you more “guaranteed” keepers.
Gear-wise, a small tripod or a clip-on ND filter might help in specific situations, long exposures at waterfalls, steady group shots, bright beach days. If you’re shooting in risky environments, near roads, cliffs, or water, prioritize safety over any photo, and if you’re unsure about local rules around drones or restricted areas, checking official park or city guidance is smart.
Key takeaways you can use on your next walk
- Light controls quality, plan one golden-hour session and protect highlights.
- Compose with intent, one subject, clean edges, horizon straight.
- Use simple controls: tap focus, nudge exposure, avoid digital zoom.
- Edit lightly, straighten, balance highlights/shadows, keep colors believable.
Pick one location near where you’re staying and give yourself 20 minutes to shoot slowly, then edit five favorites using the same settings, that small routine is usually what makes phone travel photos start looking “professional.”
If you want, save this page and turn the shot list into a note on your phone, then the next time you travel you won’t have to think so hard, you’ll just execute.